When you own a farm, there are many processes and operations that you have to do in order for everything to run smoothly. When it comes to making it through the winter successfully, one of the most important operations on any farm is making hay. Thus, you will be prepared during the winter with the necessary feed for the animals.
Growing, harvesting and baling hay are processes that can be done successfully both by commercial farms and by small farmers.
Below, you will find information about the best types of hay as well as some useful tips on making hay on small scale.
Contents
How To Grow Quality Hay
Generally used as winter fodder for livestock like cattle, horses, sheep, and goats, hay is obtained by growing grass, legumes, or other types of herbaceous plants, by cutting, drying, and storing them outdoors or indoors.
But, to be sure that you get high-quality hay, you need to know that its quality is determined by several factors such as floristic composition, local climate, moisture levels, soil properties, mowing time, and last but not least, drying and storage conditions.

Amongst the most popular types of hay are alfalfa, clover, fescue grasses, as well as brome, oats, millets,and timothy grasses.
The process of sowing the hay should take place at the beginning of March, but this is not crucial as it can also be sown in June-July, as well as in the middle of September at the latest.
It is recommended that before sowing you check the pH and fertility of the soil and see if it is suitable for the type of seed you have decided to plant. After all this, the seeds must be distributed as evenly as possible on the field.
Hay Harvesting
Harvest time has a strong effect on the final hay crop. The hay can be harvested at different times, but if it is cut too early it will be in a “raw” state and you will get less hay with a low nutritional value. If you mow too late, you will be able to get more hay but also with a low nutritional value.
If you are wondering “when is the best time to cut the hay“, this is when most plants have flowered, because the stem has the highest nutritional density at that moment. In this way, you will get hay with good nutritional value.
Harvesting the hay can be done both manually and with various machines, and it is recommended to be done on a warm, dry day with low humidity. Cutting tools must be sharpened and possibly resharpened during the process.
The drying conditions of the hay greatly influence the quality of this fodder. Therefore, after it is cut, it must be spread out to dry. Where or how exactly you can spread it also depends on other factors.
High-quality hay must not be rained upon during the drying process, nor burnt by the sun. So, if the weather conditions are ideal, you can spread it on the field, but if not, then it should be collected and arranged in a way that facilitates air circulation.
There are different drying methods including raking and turning, or if you do not want organic hay you can use drying chemicals.
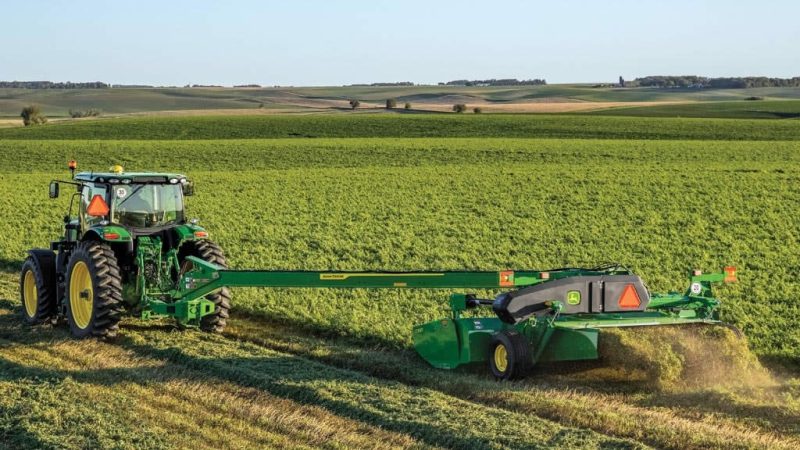
Mowing, or harvesting the hay – Sickle bar mowers, mower-conditioners, disk mowers, and disk mower-conditioners can be used in this process. The sickle bar mowers are obsolete and hard to use, but the mower-conditioner is a good choice for a small farmer because they crush and squeeze all the moisture from the hay. Furthermore, it can be used in combination with small tractors of 40-50 horsepower. The most recommended is the Haybine which is still manufactured.
Some disk mowers need a larger tractor because they have two hydraulic sets, but some do not have rollers to crush the hay, therefore can be used by a tractor with less horsepower.
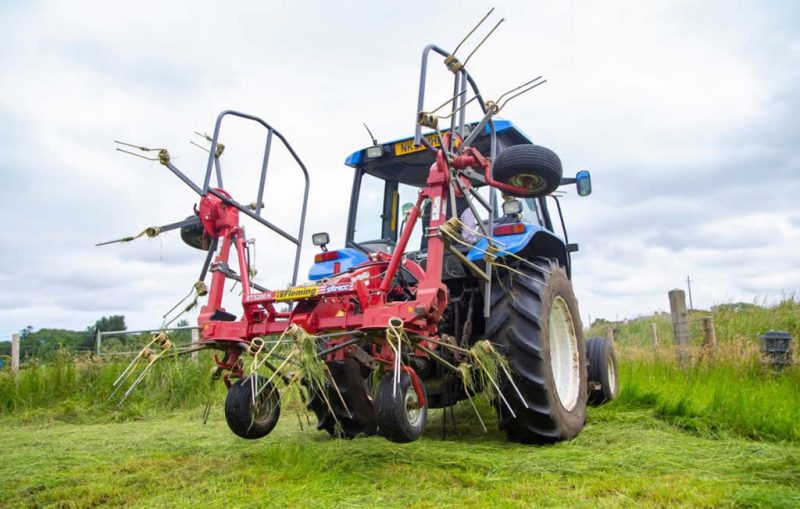
Tedding – The tedding stage must be done later on the day the hay was mowed or possibly the next day. This stage involves raising the hay in the air to dry faster by using a power take-off driven tedder. In general, tedders come in one-row and two-row versions, with the first being much cheaper than the other. Both have a low weight, so they can be pulled by a small tractor.
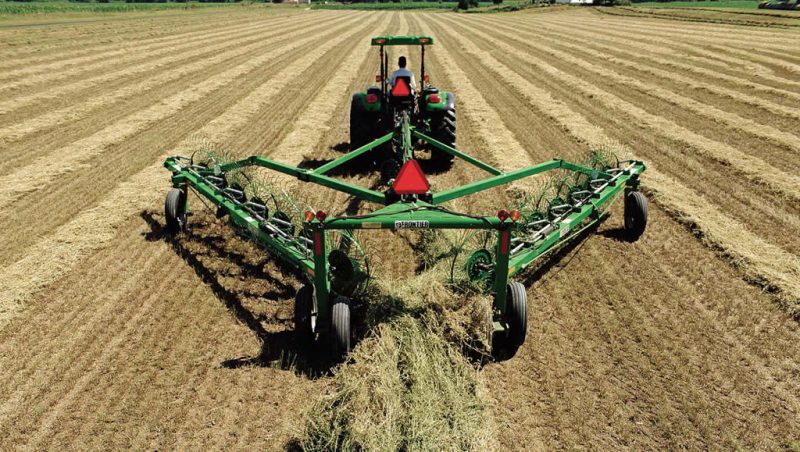
Raking – This is the final step in the hay drying process before being baled. The most appreciated and preferred method by small farmers is the “side delivery rake”. The side delivery rake has some teeth on a reel that lifts and pushes the hay to the side.
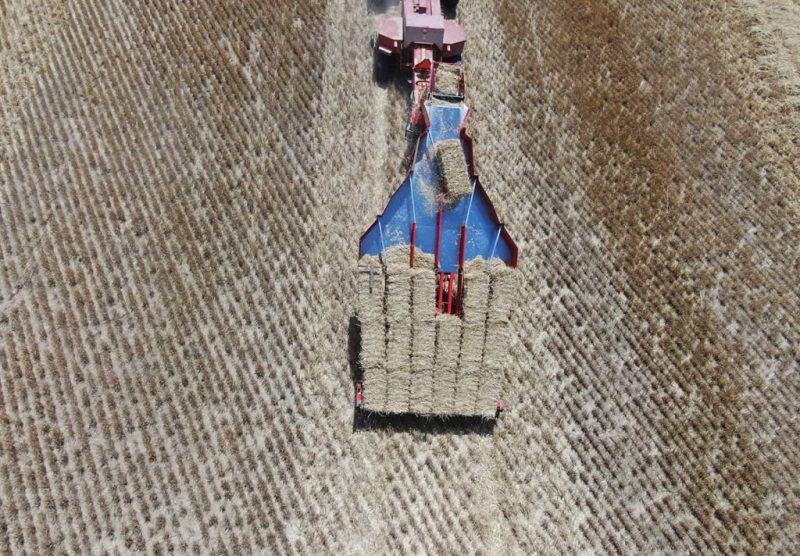
Baling– Small square bales and round bales are the most popular methods of baling hay, especially for a small farmer. For square bales, a flat wagon can be used that follows the baler with someone on the wagon to grab the bales as they exit the baler. But the square bales can also be dropped directly on the ground and picked up manually.
Types of Hay Drying or Best Ways To Dry Hay
Drying hay directly on the ground (preparation of hay on the ground) – This method consists in letting the grass dry as it was harvested. The furrows should be turned and twisted several times to speed up the drying process. The first time should be after the grass has turned pale. It is mandatory to turn the hay after each rain. The turning can be done manually (on small areas) or mechanically with different types of rakes. In the furrow, the hay can dry until it reaches a humidity of 25-30%, an operation which, under favorable conditions, takes around 1-2 days. After that level of humidity has been reached, the next step is to collect the hay in 220 – 662 lbs (100-300 kg) bales where it is left until the humidity drops to 20-17%.
Drying hay on wood sticks – To avoid losses, immediately after withering, the grass, in a thick layer of 27.5 – 31.4 in (70-80 cm), is placed on different wooden sticks as support. The advantage of this method is that it allows obtaining good hay with lower losses even in rainy weather conditions. Through this drying method, rainwater drains off, while air can penetrate the entire mass, thus preventing mold. Hay dried in this way must not be turned anymore except when it is gathered into haystacks, which is done when the hay is completely dry (17% moisture). The wooden sticks used as a support are of several types.
Drying hay by pressing it into bales – This process reduces losses and uses less labor consumption. This hay drying method is suitable for lowland areas, temporary meadows, or forage leguminous crops. The mowed grasses are left in furrows or waves to dry until they reach a water content of 25-30%, after which they are pressed into bales. Pressing is done in the morning after the dew has lifted, the hay having a green color and a pleasant taste. In this way, the losses are reduced to 4-6%.
Drying hay by crushing it – This system crushes the stems and makes them lose water at the same rate as the leaves. It is done with the help of forage harvesters equipped with crushers. With such machines, the cut grass is passed between two rollers – one metal, the other plastic, which crush the tissues of the stems. As a result of this operation, the water losses occur at a rapid rate, drying lasting no more than a day – under favorable conditions. After this time interval, the hay is further dried by baling. This method is mandatory for arid areas.
Drying hay with the help of air currents – It consists of the forced drying of plants with the help of cold or hot air currents. Thus, the water is removed from the hay in a very short time and as such the losses of dry substance, of nutritional principles, decrease. Hay prepared in this way has 63% more protein, 13% more fat, and 10 times more carotene than furrow-dried hay. Drying with the help of air currents can be done with: cold air, hot air, or in special installations.
Types Of Hay Bales – Round vs Square Bales
Round hay bales are suitable for larger farms with a more significant amount of hay. These hay bales can weigh several hundred or thousands of pounds.
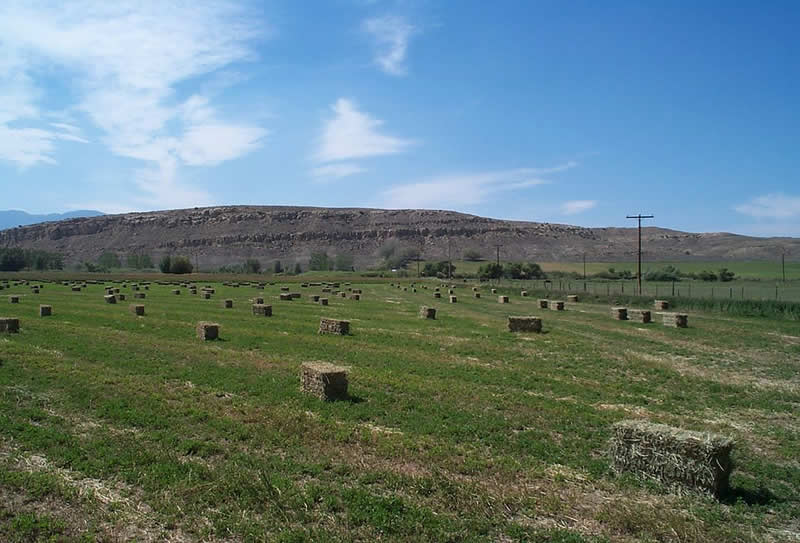
On the opposite end, square hay bales are smaller and easier to make than round ones, making them the ideal choice for a smaller farm with a smaller amount of hay.
Baled hay comes in a few different forms, which somewhat dictates how the bales should be stored. The three main types of bales are the traditional rectangular bale, the large rectangular bale, and the round bale.
Traditional rectangular bales were the first type to be produced by a mechanical baler, and are probably the most well-known. The bales are normally 2 ft (0.6 m) wide by 2 ft (0.6 m) high by 4 ft (1.2 m)long and are held together by twine or wire. They usually weigh between 40 and 80 lbs. Their size and ease of handling make them ideal for feeding horses or small numbers of livestock.
Large rectangular bales are roughly 3 ft (0.9 m) wide by 3 ft (0.9 m) high by 8 ft (2.4 m) long and can weigh 800 lbs (362 kg) or more. The bales can be broken off in parts to feed, but require the use of equipment to produce and transport.
Round bales have become the most popular type of bale produced on large-scale farms and ranches. They range in size from 600 to 2,000 lbs (362 -907 kg) and are probably the most cost-effective bale to produce. Because of their size, round bales are more often stored outdoors.
| Type | Pros | Cons |
|---|---|---|
| Round Hay Bales |
|
|
| Square Hay Bales |
|
|
Proper Storage Of Bales
Dry hay or wet can no longer be used and cannot be fed to animals. Therefore, the bales must be protected from moisture and, at the same time, they must not be placed in the strong rays of the sun. Ideally, the bales should be kept in a space with adequate air circulation and protected from rain.
Methods of preparation and storage of the hay
After mowing, the green mass, which has 70-80% moisture, is subjected to a set of preparation works by which the humidity must decrease to 16% for hay from sown meadows and a maximum of 17% for that obtained from natural meadows.
If the hay has a humidity higher than 16-17% for various reasons, then you can mix the hay with salt ( 11 lbs/5kg per ton of hay) before storing it. Another alternative is to use alternate layers of straw and hay, approximately a 3.93 – 7.87 in (10-20 cm) layer of straw and a 19.6 -23.6 in (50-60 cm) layer of hay. Adequate air circulation must be ensured when bales with higher humidity are stored.
Indoor Storage
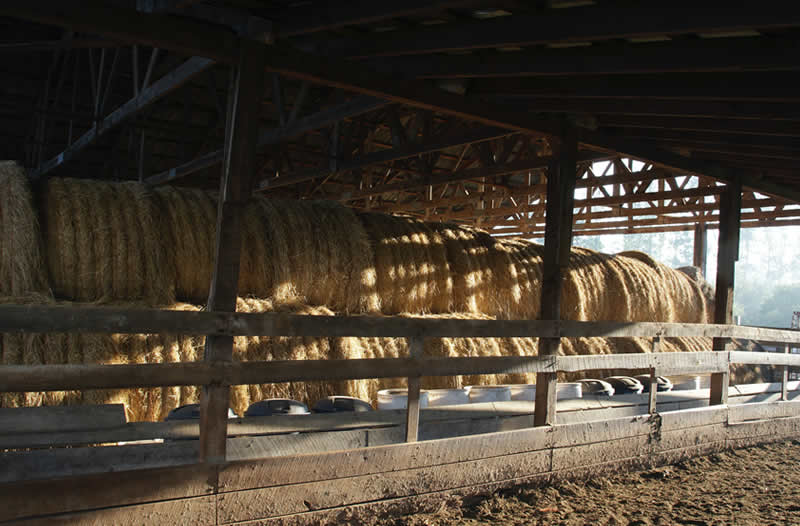
If you can store the hay inside a building, it is one of the best methods. However, you must be sure that the building has a good roof through which raindrops cannot penetrate.
Outdoor Storage
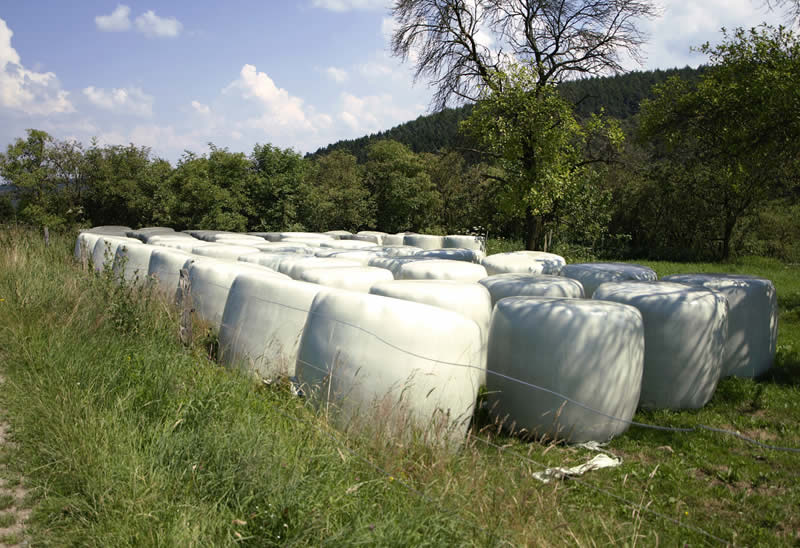
Hay can be stored outdoors, in strings in dry regions and stacks in wetter regions. The stacks should be placed on high, dry land with a layer of straw or a wooden pedestal (branches) to prevent the hay from deteriorating in contact with the ground. The strings are oriented parallel to the direction of the prevailing winds. In general, a row has a height of 3.2 ft (6 m), a width of the base of 13 ft (4 m), and a length of 49 -66 ft (15 – 20 m). The stacks can be placed as close as possible to the farms. The stacks will be fenced, and lightning rods and other measures against fires will be installed.
3 Reasons To Make Your Own Hay
There are several reasons why it is worth investing time and energy in growing and making hay. Some of them are the following:
- By using hay as animal feed, you can save considerable feed costs.
- If you have no livestock, you can grow, harvest, and bale hay, then sell it and make money.
- You can grow hay without chemicals because you are in charge of all processes. In this way, you obtain your naturally grown hay production.
Hay Equipment – All Machines And Tools You Need To Make Hay:
Tractor – A tractor with at least 40-50 horsepower is needed if you choose to bale the hay.
10. Hay Tester
Hay that is too wet will develop mildew and one that is too dry will lack nutrients. A hay tester will help you accurately measure the moisture of the hay.
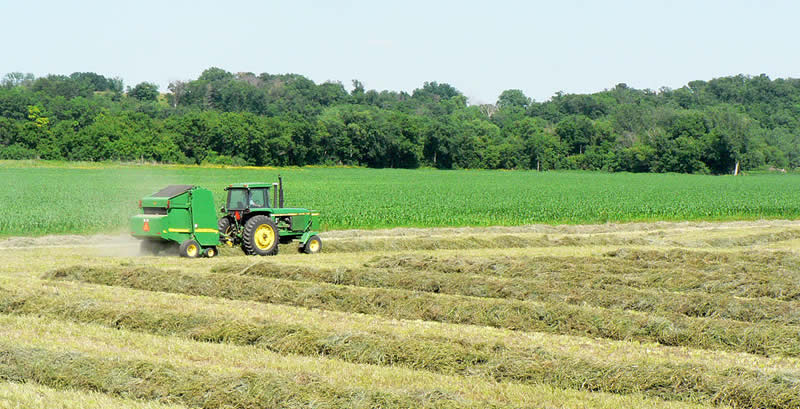
9. Mower/Conditioner
For cutting hay and for better drying it is also recommended to have a mower or conditioner.
8. Hay Tedder
If you want to bale the hay before rainfall or to prevent mildew, the hay tedder is the right machine to use. It will help you aerate cut hay while speeding up the drying process.

7. Hay Rake
The hay rake will facilitate the baling process by raking the hay in straight lines.
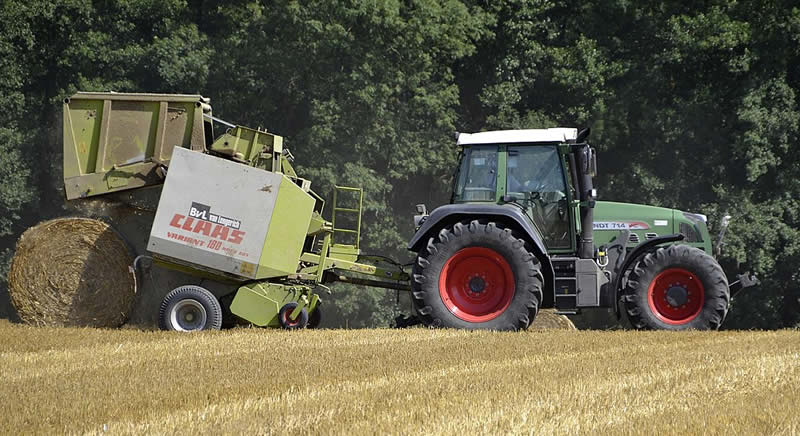
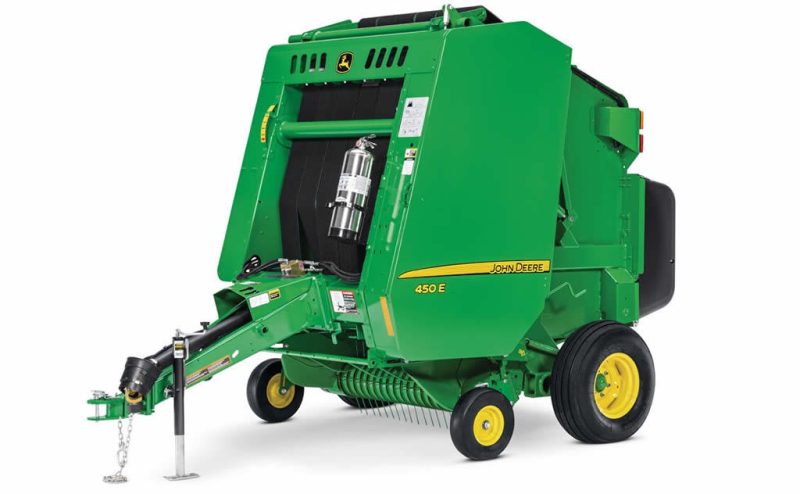
6. Hay Baler
To speed up the baling process, you also need a hay baler that will compress the hay, creating compact bales that are easy to handle and store.
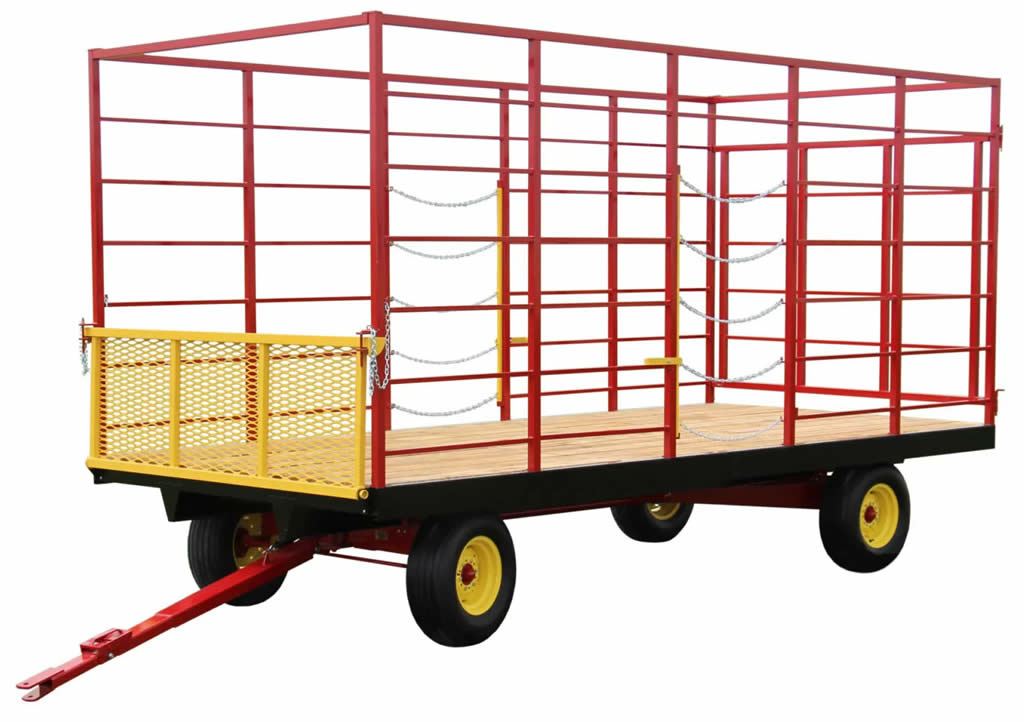
5. Hay Wagon
The hay wagon comes in handy when transporting the hay.
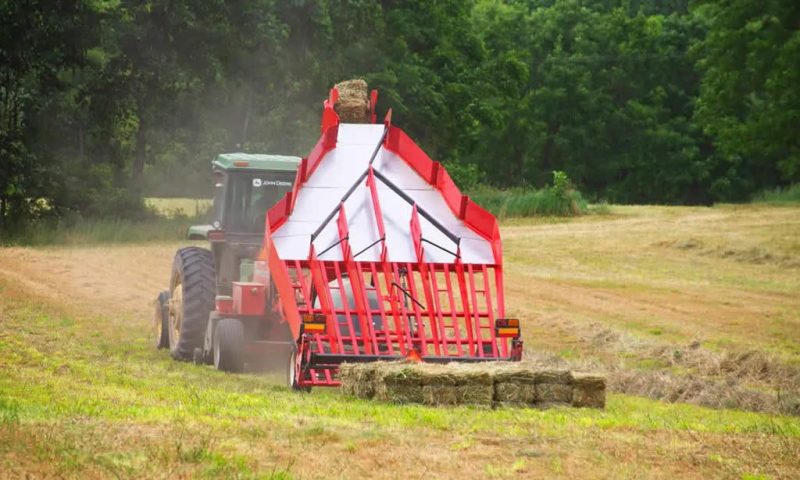
4. Hay Accumulator
A hay accumulator will help you collect hay bales all together in a much faster time.
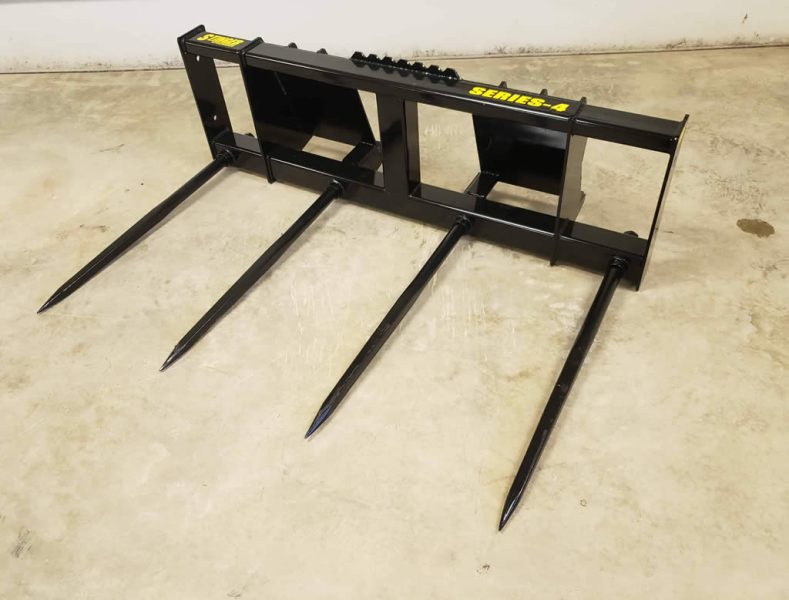
3. Hay Bale Spear
The hay spears are essential when moving large hay bales around. Also, they will offer safety when rolling the bales back toward the cab.
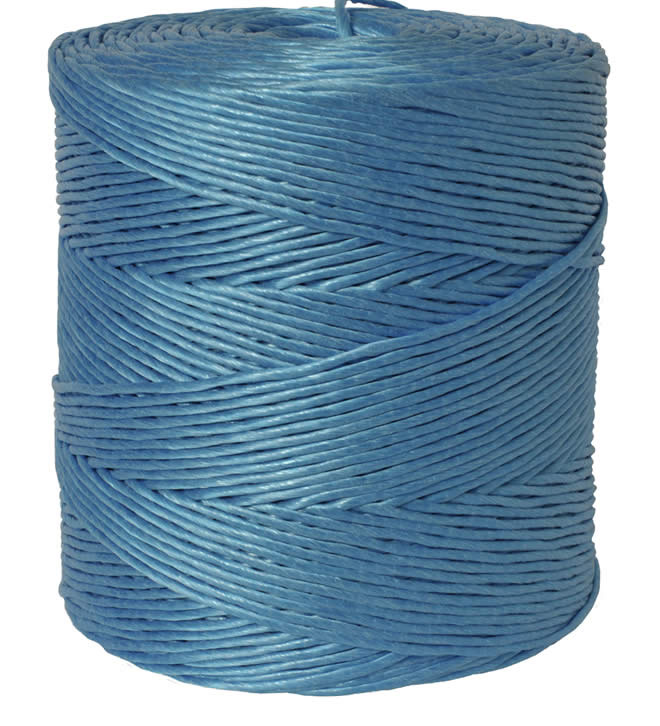
2. Baling Twine
You should definitely use baling twine. This is another essential tool that compacts the hay, making it easier to stack.
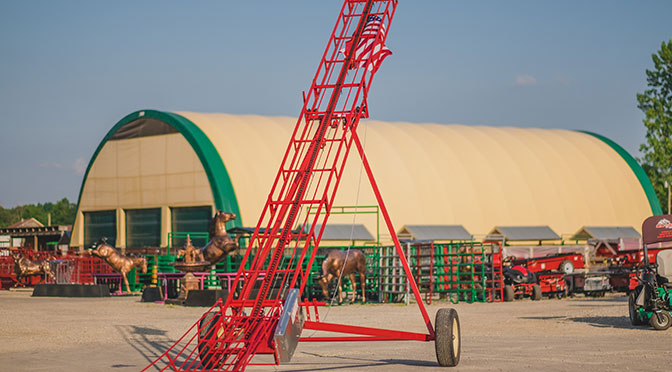
1. Hay Elevator
Finally, if the bales are stored in a special storage place, a hay elevator is also needed to support and transport the bales to the desired barn section.